
How to Invoice as a Freelancer: 11 Things You NEED to Include
Wondering how to invoice as a freelancer? I’ve got you covered. Invoicing is one of THE most important aspects of running a small business as a freelancer, and even I can admit it can be a little daunting. Especially if you’re just getting started.
Sending out invoices is how you get paid for your freelance work. I know the term says “free” right in it, but that’s an indication of your employment status, not your lack of payment. This is the official document you send to a client that ensures you get paid the proper amount for the services you provided, without sending them the money probably won’t end up in your bank account.
Every freelancer NEEDS to know how to invoice correctly to ensure they get paid what they deserve in a reasonable amount of time. I know the “money part” of business is intimidating at the start… but I PROMISE it feels awesome to get paid.
What you NEED to send an invoice:
You only really NEED 3 things to send an invoice to a client:
- Invoiceable project
- Payment method — Wise
- Software to build the invoice template — Canva, Google Docs (free), HoneyBook or Invoice Ninja (paid)
It’s really THAT simple.
What to include on your invoice:

1. Professional header
Putting a header on your professional invoice will help make you look more legitimate in both your clients and your own eyes. I like to use an invoice system like HoneyBook or Dubsado that allows me to create a header once and use it in every invoice without extra work.
This is a great place for your company name and logo (if you have one), giving you an opportunity to show off your branding skills. While it’s not the biggest brand recognition opportunity, it does allow you to show off your business.
2. Contact information
You need to include your contact information on your freelance invoice. At a minimum, your invoice needs to include an email address, that way your client can contact (or their accounting department) you if they have questions.
I usually also include my website and phone number on my invoices too, though it’s case-by-case as I’m an introvert and I don’t love phone calls. This can help legitimize your business, but it’s not absolutely necessary.
3. Client information
It’s not only your information that needs to be included on a proper invoice, you also want the client’s as well. Include your contact’s information and email, as well as any other information you have on them.
It’s a good opportunity for your clients to double-check that they have the correct information. Plus, if your client is a company with a separate accounting department, this allows them to easily trace the work internally to the contact person.
4. Invoice number
You need to make sure your invoice includes an invoice number. I recommend you allow whatever system you’re using to do this for you — that way your invoices will end up having sequential numbers.
An invoice number helps to document the invoice for tax accounting purposes. Ultimately, it makes it easier to track payments on both yours and your client’s ends. This ensures both parties are clear on the payment amount, due date, and any other important details related to the invoice.
5. Date prepared and sent
It is important to include the date that the invoice was sent on your final invoice. This makes it easier for businesses to track payments and helps ensure that invoices are being paid in a timely manner.
Having this information also helps with bookkeeping, as it provides proof of when an invoice was sent out. It is also helpful for customers who may need to review their billing history.
6. Due date
Including a due date on your invoice is essential as it informs your clients of when they need to pay you by. If you have set up late payment fees, this due date also allows them to pay before and avoid the extra costs. Make sure to send payment reminders through your accounting software just before the due date if it hasn’t been paid.
7. Payment options
My invoice should clearly communicate all payment options available to my clients.
My preferred option is Wise Business, so I include my Wise information on the final invoice for easy access. Additionally, if a client prefers to pay via PayPal, I also include my PayPal email address on the invoice.
Ultimately, the goal of your freelance invoice is to make it a one-stop shop for clients to easily make their payments. That’s why including multiple payment methods can make electronic payment easier and faster for your clients.
8. Payment terms
Payment terms are an essential part of doing business, as they outline the expectations between you and your client. Payment terms include details such as payment method, due date, late fees and interest charges for overdue payments.
It is important to ensure that clients agree to these payment terms before you start any work, and that these terms are included on all invoices.
9. Breakdown of services
Your invoice should include a breakdown of services performed for your clients to understand exactly what they are paying for. This is especially important if you don’t work with the company’s accounting department regularly.
For example, if you wrote a blog post for them, your invoice should list the title and cost of the post and how many words (if youre paid by word). Additionally, if you have multiple units associated with the services performed, you should also include the cost per unit on your invoice. This way, everyone is clear on the exact services rendered and how much they cost.
10. Amount due
When creating your freelance invoice, it is important to make sure that the amount due is very clear. The total should include any applicable taxes, and if a discount has been applied this should be reflected in the final total.
11. Thank you
Thanking your clients for their business is a great way to show them that you appreciate them.
It’s easy to set up an automated thank-you line on your completed invoice so that each client receives the same message, or you can take the time to write a personalized note for each invoice before sending it out.
Either way, showing your customer appreciation will help build strong relationships and ensure they come back again.
How to send your invoice to the client
Now that you know what your invoices need to include, it’s time to figure out HOW to send them. There are three main ways I recommend:
Manual invoicing
Manual invoicing is my least favorite way for freelancers to send invoices. However, it’s often the option chosen by new freelancers for their first few invoices.
Creating a new invoice from scratch manually every time you need one is probably the cheapest way to do it, since free invoicing software like Canva and Google Docs can be used. However, this option also costs the most in terms of time and energy, as well as potentially resulting in an error due to manual entry.
That being said, manual invoicing is still a viable option for those looking to save money but who have the resources to devote to making sure information is accurate.
Hire a bookkeeper
If you don’t have the time or energy to create invoices, hiring a bookkeeper can be a great option. Bookkeepers take care of your paperwork and help to free up your plate so you can focus on what matters most.
They won’t do the same work as an accountant, but they will make tax season much easier for you by having all your invoices and paperwork in order. Just make sure that whoever you’re hiring understand the program you use — you WILL need a program for them to work in (check out HoneyBook or Dubsado as you can add team members for free).
Automatic Invoicing (software)
Using accounting programs like HoneyBook and Bonsai can simplify the process of sending invoices to clients. Setting them to send automatically, such as if you have a client that pays a retainer, is an efficient way of managing your time.
However, if there are any inconsistencies in the information on the invoice, it’s best to take a few minutes to make the necessary updates before pressing send. This ensures accuracy and saves you from any potential confusion with payment down the line.
Honestly, this is my favorite option for solopreneurs until you have the extra cash for a bookkeeper.
When to send the invoice
It’s important to send invoice for the work you have completed as a freelancer. Yes, it’s worth saying that because I’ve personally forgotten a few times.
Most freelancers send the invoice after they’ve completed the work — I only do this if I know the client I’m working with well. Instead, I recommend sending half the invoice BEFORE and half afterwards. I see this as being the most fair option because everyone has equal risk. However, there are some freelancers who manage to secure the whole fee beforehand. It’s up to you how you do it.
To make it the easiest on you, I recommend setting time aside weekly to send invoices. I save time on Fridays to deal with accounting matters. A few things taken care of every week makes it WAY easier in the long run.
Make sure you get paid fast
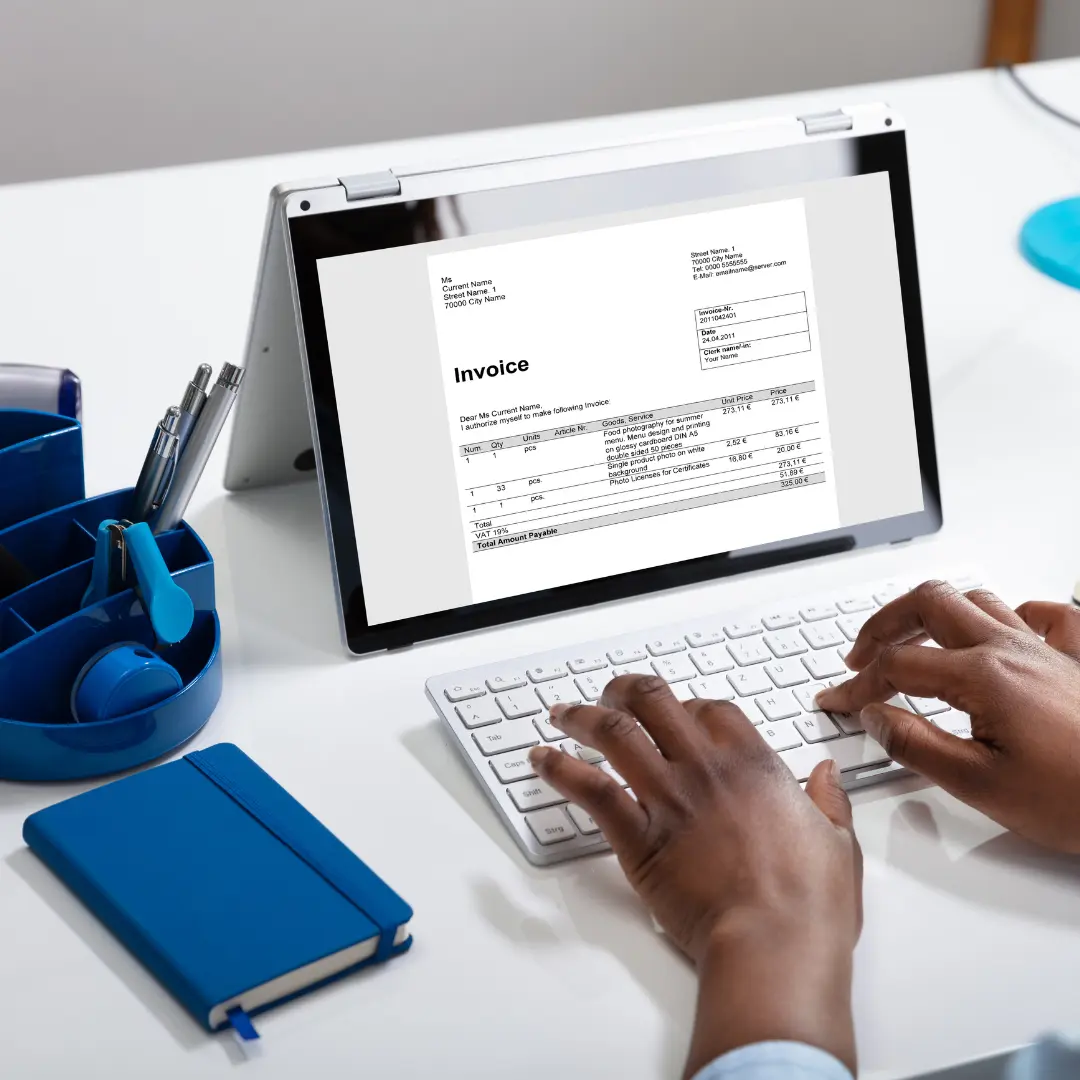
Set clear payment terms
It is essential for everyone to understand the payment terms when starting a job or project. Before beginning any work, it is important to make sure both you and your client are in agreement with the payment terms (this should be in your freelance contract!). This will help ensure that there are no misunderstandings down the line and that all parties involved are clear on the expectations of how payments should be handled.
Ask for a deposit
Freelancing can be risky work — honestly, sometimes clients don’t pay. That’s why I like to ask for a deposit upfront before performing a freelance service. I believe half of the payment before the work has been started, that way you’re not 100% on the line if they don’t pay for whatever reason.
Doing this ensures that both parties have equal risk and you aren’t working for nothing. You can make this amount as much as you won’t, you don’t have to do 50% just because I do. Go with whatever makes you comfortable.
Send reminders
Sending friendly payment reminders to your clients is a great way to ensure you get paid on time.If your invoice is late send a reminder NOW. However, I recommend sending a reminder email a day or two before the invoice is due, just in case they forgot. These reminders help ensure that the payment comes on time, and shows them you are organized and professional.
Sign contracts
Before you begin working for your client, it is important to sign a contract. This will help ensure that you get paid sooner and protect you if the client violates the agreement.
Having a signed contract allows you to have something tangible to point to in case things go awry. I recommend providing the contract yourself so it’s written with you in mind, instead of having your client’s provide on for you.
Send invoices automatically
Automating the process of sending invoices is a great way to free up time and energy for other tasks. By setting up a system that sends invoices automatically, you can take the tedious admin tasks off your plate and get on with more important work.
At the very least, make sure you have a system in place that simplifies the process and makes it easier to keep track of who owes what. This will save you a lot of time and effort in the long run.
Offer flexible payment options
Having flexible payment terms is a great way to ensure that you get paid on time. It is important to consider the timing of when you offer payment options and the method in which your clients can pay.
I personally get paid primarily through Wise, but that means I usually have to wait a few days for my money to come through, even if my clients are paying me on time. This can be an issue for some businesses since cash flow can be tight, so having alternative payment methods available is key.
Set up a tracking system for your invoices
It is important to track your invoices and stay on top of them. If you let things slip, invoices can become overdue for months or even years! You don’t want that, so make sure you stay on top of your invoices by tracking them.

Freelancer invoice FAQs
Can a freelancer issue an invoice?
Yes, in most cases, a freelancer can issue an invoice. Check your jurisdiction’s tax law to ensure you’re following the rules.
Can I just create an invoice?
You bet! Even as a private individual, most jurisdictions are cool with you just whipping up an invoice to get paid — just make sure you claim the income come tax time and you should be golden.
How do I invoice for the first time?
Invoicing for the first time can be intimidating, but I swear it’s an easy process. You simply:
- Prepare an invoice with all of the correct information (see above post)
- Send it to your client
- Collect payment
Make sure to provide your client with a PAYMENT METHOD so they can actually pay you.
Should I add tax to my freelance invoice?
Tax law’s vary by jurisdiction. To ensure you’re playing by the rules, check with a tax professional in your jurisdiction.
Final thoughts: How to invoice as a freelancer
Besides getting clients, figuring out how to invoice as a freelancer is probably one of the most challenging parts of starting work as a freelancer. While the task itself is relatively easy, it can be intimidating to send a document requesting money… especially for the first few times.
I HIGHLY recommend working with HoneyBook (if you’re US-based) or Bonsai (if you’re based outside the US) to send invoices through. Not only does this make your invoices look similar and professional, it’s considerably easier to track them. Plus they’re all kept in the same place so you know where to get them if you need them.
You also want to make accepting payments as easy as possible. I recommend Wise for direct bank transfers and Stipe for credit card payments. But both of these payment options have a few days of processing time, so make sure that you factor that into your billing procedures.
Ultimately, invoicing is a task you’ll want to make sure you stay on top of… otherwise you won’t get paid! Set some time aside weekly so you can stay on top of it and make it go as smoothly as possible.
Pin these for later
If you’ve read this far, I’d recommend checking out these other articles that will making running a business a breeze: